Night flash photography
As an Amazon Associate, I earn from qualifying purchases.
Night flash photography
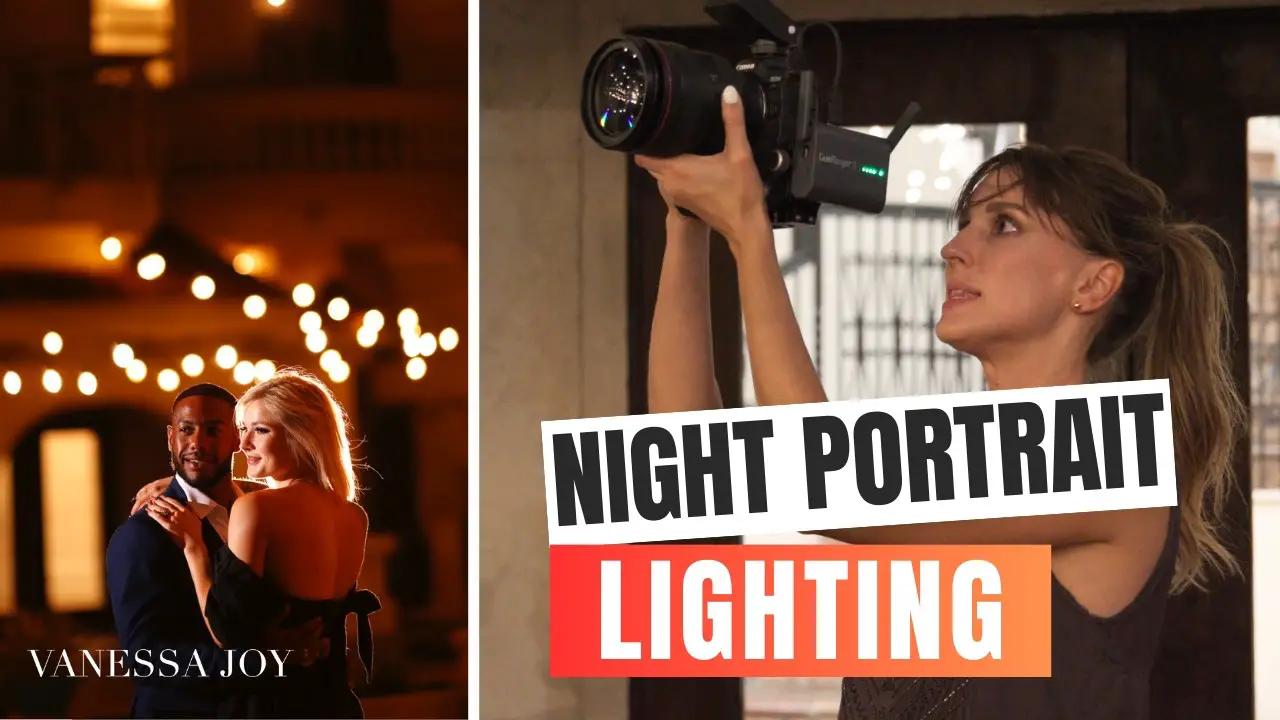
Night photography can produce some of the most dramatic images you will ever take. City lights, dark streets, concerts, parties, portraits, and nighttime events all have a completely different atmosphere after sunset.
The problem is that once the available light disappears, getting a sharp and properly exposed photo becomes much more difficult.
That is where flash photography becomes useful.
A flash can freeze motion, illuminate a subject, improve skin tones, and allow you to shoot in locations where natural light simply is not enough. However, using flash at night is not as simple as pointing it directly at your subject and pressing the shutter.
Table of Contents
What Is Night Flash Photography?
Night flash photography means using an artificial flash to illuminate part or all of a scene when shooting in low-light conditions.
The flash usually becomes the main source of light for your subject, while your camera continues capturing the available light in the background.
This combination is important.
If you expose only for the flash, your subject may look bright while the entire background becomes completely black. If you expose only for the background, your subject may become blurry or too dark.
Good night flash photography is about balancing both.
You want the flash to illuminate your subject while allowing enough ambient light from street lamps, buildings, signs, candles, or other sources to remain visible.
Why Use Flash at Night?
Modern cameras can shoot at extremely high ISO settings, so you might wonder whether a flash is still necessary.
In many situations, it is.
Increasing ISO makes the camera more sensitive to light, but it can also introduce noise and reduce image quality. A flash provides actual additional light.
There are several situations where flash is especially useful.
You can use it to photograph people at nighttime events, freeze moving subjects, improve portrait lighting, reduce extremely high ISO settings, create dramatic outdoor portraits, or separate your subject from a dark background.
Flash is also useful when your subject is backlit by bright city lights.
Without flash, the camera may expose for the background and leave the person’s face almost completely dark.
Built-In Flash vs External Flash
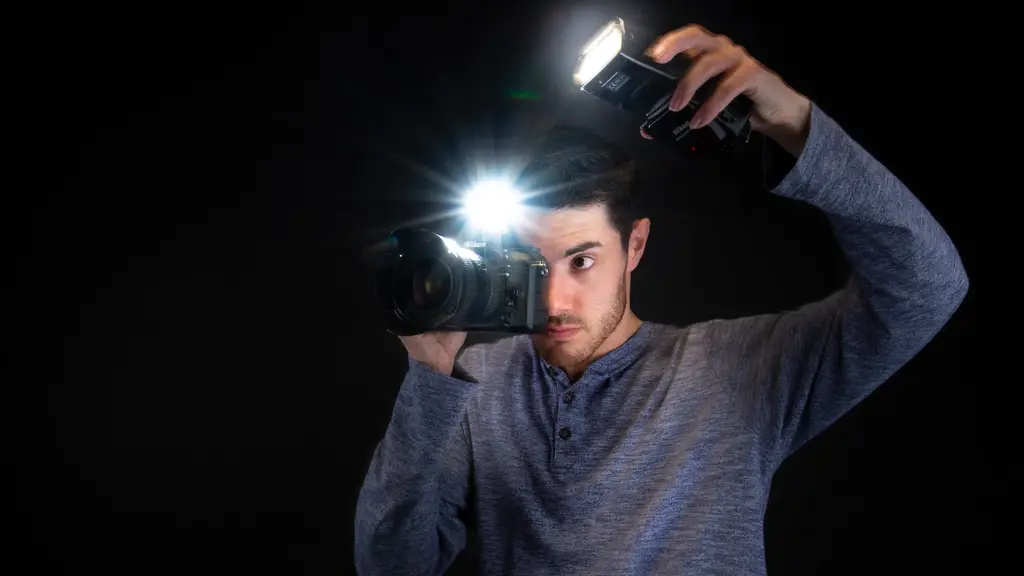
Some cameras have a small built-in flash.
It can work in emergencies, but it has several limitations.
Because the flash is located very close to the camera lens, the light usually hits the subject directly from the front. This can make faces look flat and create harsh shadows behind people.
Built-in flashes are also relatively weak.
An external speedlight is much more versatile.
You can rotate or tilt the flash head, bounce the light from walls and ceilings, use modifiers, control flash power manually, or even position the flash away from the camera.
For anyone who regularly photographs people at night, an external flash is usually one of the most useful photography accessories you can buy.
Best Camera Mode for Night Flash Photography
Manual mode is usually the easiest option once you understand the basic relationship between flash and ambient light.
It gives you independent control over:
- Aperture
- Shutter speed
- ISO
- Flash power
A useful starting point for nighttime portraits is approximately:
Camera mode: Manual
Aperture: f/2.8 to f/4
Shutter speed: 1/60 to 1/200 second
ISO: 400 to 1600
Flash: TTL or low manual power
These are only starting settings.
The correct exposure will depend heavily on how dark the location is.
Understanding the Most Important Concept
One of the biggest breakthroughs in flash photography is understanding that your camera and flash control different parts of the photograph.
Your shutter speed has a major effect on the ambient light.
Your flash power has a major effect on the brightness of your flash-lit subject.
Imagine photographing someone standing on a street at night.
The person is illuminated by your flash, while streetlights illuminate the buildings behind them.
If the background is too dark, you can slow down your shutter speed.
For example:
1/200 second → darker background
1/100 second → brighter background
1/50 second → even brighter background
The flash can still keep your subject relatively sharp because the burst of light is extremely short.
This technique is sometimes called dragging the shutter.
How to Balance Flash and Ambient Light
The easiest way to create natural-looking nighttime flash photos is to expose the background first.
Start without worrying about the flash.
Adjust your ISO, aperture, and shutter speed until the background looks slightly darker than you want it.
Then activate your flash.
Use the flash to brighten the subject.
This usually creates a much more balanced image than letting the camera completely illuminate the scene automatically.
Think of the process as two exposures inside one photo.
The camera exposes the environment.
The flash exposes the subject.
TTL Flash vs Manual Flash
Most modern external flashes offer two major shooting modes.
- TTL Flash
TTL stands for “Through The Lens.”
The camera measures the scene and automatically decides how much flash power is required.
TTL is useful when conditions are changing quickly.
For example, it works well for:
Weddings, parties, street photography, events, and situations where subjects constantly move toward or away from you.
The main advantage is speed.
You do not have to calculate flash power for every shot.
However, TTL exposure can occasionally change between photographs.
- Manual Flash
Manual flash allows you to select the power yourself.
Typical settings include:
1/1 — full power
1/2 — half power
1/4 — quarter power
1/8
1/16
1/32
1/64
1/128
Manual flash is especially useful when your subject remains approximately the same distance from the flash.
Once you find the correct exposure, every photo can look nearly identical.
Direct Flash Photography
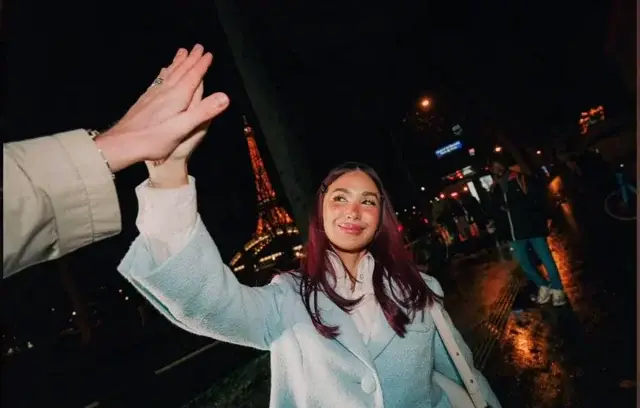
Direct flash means pointing the flash straight toward the subject.
Photographers sometimes avoid this technique because it can produce harsh lighting.
However, direct flash has become popular again, particularly in fashion, nightlife, celebrity, and documentary-style photography.
The characteristic look includes strong shadows, bright skin, high contrast, and a raw snapshot aesthetic.
It can work extremely well for nightclub photography or creative nighttime portraits.
The trick is to use it intentionally rather than accidentally.
Bounce Flash
Bounce flash is one of the easiest ways to make flash lighting look more natural.
Instead of pointing the flash directly at your subject, point it toward a nearby wall or ceiling.
The light hits that surface and spreads before reaching your subject.
This effectively turns a small flash into a much larger light source.
The result is usually softer shadows and more flattering facial lighting.
White or neutral-colored walls work best.
Be careful with colored walls.
For example, bouncing flash from a red wall can give your subject’s skin a red color cast.
Off-Camera Flash
For more professional results, you can remove the flash from the camera.
A wireless trigger allows the camera to activate the flash from another location.
You could position the flash:
45 degrees beside your subject, behind the subject, high above the subject, or even several meters away.
Changing the flash position dramatically changes the mood of the photograph.
A flash positioned approximately 45 degrees from the subject often creates much more dimensional lighting than an on-camera flash.
Adding a small softbox or umbrella can make the light even softer.
Best Aperture for Night Flash Photography
Wide apertures are extremely useful at night.
Settings such as f/1.8, f/2, f/2.8, and f/4 allow more ambient light into the camera.
They also create background blur, which can make city lights turn into attractive bokeh.
However, very wide apertures reduce depth of field.
When photographing groups of people, you may need something closer to f/4 or f/5.6 to keep everyone sharp.
Best ISO Settings
ISO controls how sensitive your camera is to light.
During nighttime flash photography, there is usually no reason to keep ISO at 100 unless you specifically want a dark environment or extremely powerful flash lighting.
Increasing ISO allows your camera to capture more ambient light.
A practical range is often somewhere around ISO 400-1600.
Modern cameras can sometimes go significantly higher while still producing usable images.
The advantage of increasing ISO is that your flash does not need to work as hard.
This means faster recycling and longer battery life.
Best Shutter Speed
Shutter speed is extremely important at night.
A common range is approximately 1/60 to 1/200 second.
Faster shutter speeds reduce camera shake and movement but make the background darker.
Slower shutter speeds allow more ambient light into the image.
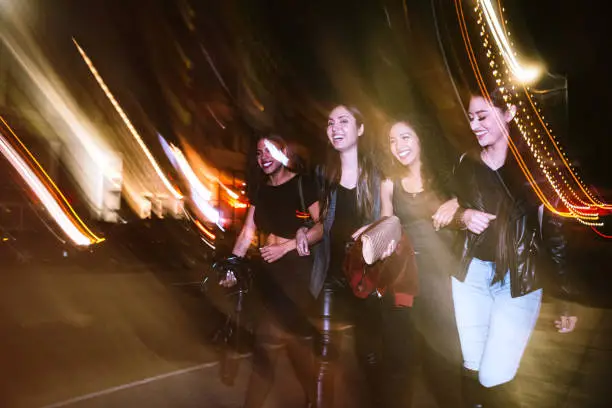
For creative photography, you can intentionally use very slow shutter speeds such as 1/10 second, 1/4 second, or even longer.
The flash freezes the subject while movement in the ambient light creates streaks and blur.
This can create impressive nightclub and party photographs.
Flash Sync Speed
Cameras normally have a maximum standard shutter speed that can be used with flash.
This is known as the flash synchronization speed.
Depending on the camera, it is often around 1/160, 1/200, or 1/250 second.
If you try to use a faster shutter speed without special technology, part of your photograph may become dark because the shutter blocks part of the flash.
Many modern flashes support High-Speed Sync, usually abbreviated HSS.
HSS allows you to use much faster shutter speeds with flash.
It can be especially useful when shooting portraits with flash while there is still significant ambient light.
Flash Exposure Compensation
If you are using TTL flash, flash exposure compensation is one of the most useful controls.
It lets you tell the camera to produce more or less flash power.
For example:
0 EV means normal flash exposure.
-1 EV makes the flash approximately one stop darker.
+1 EV makes it approximately one stop brighter.
For natural-looking nighttime portraits, slightly reducing flash exposure can sometimes help the flash blend better with the environment.
How to Avoid the Black Background Problem
One of the most common beginner problems is a perfectly exposed person standing in front of a completely black background.
This happens because the flash reaches the person but not the distant environment.
The solution is usually to capture more ambient light.
Try increasing ISO or slowing your shutter speed.
For example, instead of shooting:
ISO 100
f/5.6
1/200 sec
you might try:
ISO 800
f/2.8
1/80 sec
The second combination allows dramatically more ambient light into the photograph.
Your flash can then illuminate the subject without completely overpowering the scene.
Night Portrait Flash Setup
Here is a simple setup that works in many situations.
Set your camera to manual mode.
Start with:
ISO 800
Aperture f/2.8
Shutter speed 1/100 second
Set your flash to TTL.
Take a test photograph.
If the background is too dark, reduce shutter speed to approximately 1/60 second or increase ISO.
If the subject is too bright, reduce flash exposure compensation.
If the subject is too dark, increase flash exposure compensation or move the flash closer.
Small adjustments can dramatically improve the result.
Night Street Photography With Flash
Flash can create a distinctive style for nighttime street photography.
It freezes people against colorful lights, neon signs, traffic, and dark city environments.
However, street flash requires confidence and consideration.
A flash can be distracting, particularly when used very close to strangers.
Whenever possible, respect people’s privacy and local rules regarding photography.
Technically, a moderate ISO and relatively slow shutter speed can create a good balance between flash and city lighting.
For example:
ISO 800
f/4
1/80 second
Low-to-medium flash power
These settings can provide a sharp subject while retaining plenty of city atmosphere.
Party and Nightclub Flash Photography
Nightclubs are one of the hardest environments to photograph.
Lighting changes constantly, people move quickly, and the room may be extremely dark.
TTL flash is often the easiest solution.
A practical starting setup could be:
ISO 800-1600
f/2.8-f/4
1/30-1/100 second
TTL flash
Using slower shutter speeds can capture colorful club lighting while the flash freezes people’s faces.
For a more energetic effect, photographers sometimes move or rotate the camera slightly during the exposure.
The flash creates a sharp subject while background lights become streaks.
Outdoor Night Portraits
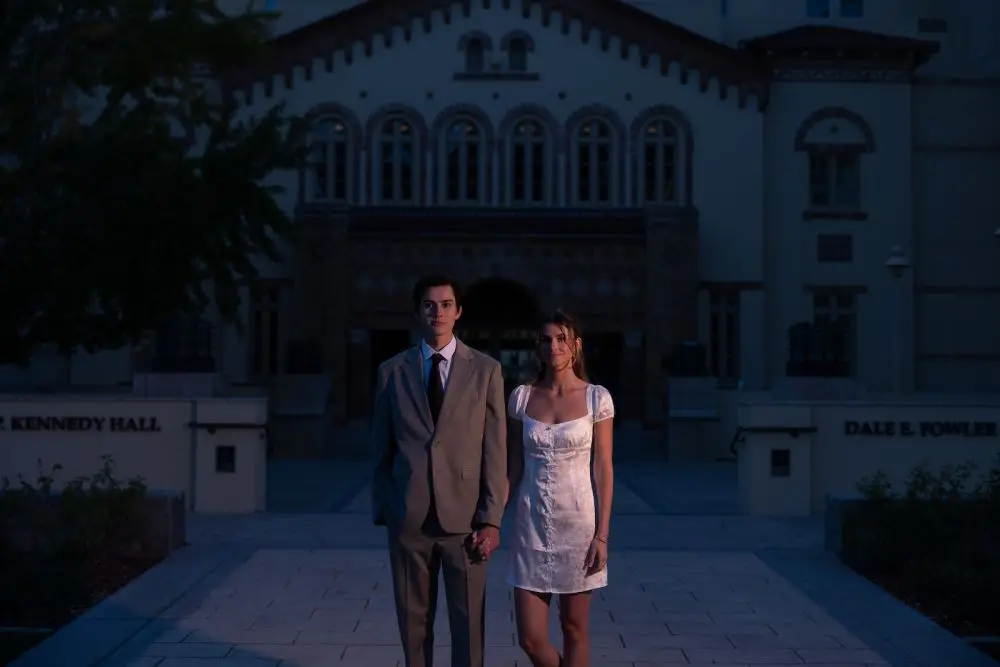
Outdoor portraits provide more control.
An off-camera flash can produce excellent results.
Place your subject where there are interesting lights in the background.
Expose your camera for those lights first.
Then position your flash around 45 degrees from the subject.
Start with relatively low power.
You want the flash to look like part of the existing environment instead of making the person appear pasted into the scene.
Using Rear Curtain Sync
Normally, a flash fires at the beginning of an exposure.
Rear curtain sync makes the flash fire near the end instead.
This matters when photographing moving subjects with slow shutter speeds.
For example, imagine photographing a cyclist at night.
With rear curtain sync, ambient light can create a motion trail behind the cyclist while the flash freezes the cyclist at the end of the movement.
The result often looks more natural than a motion trail appearing in front of the subject.
Diffusers and Flash Modifiers
Small flash diffusers can slightly soften or spread flash light.
However, they are not magic.
A tiny plastic diffuser does not suddenly transform a small speedlight into a huge softbox.
The apparent size of the light source is what determines softness.
For genuinely softer lighting, bouncing the flash from a large wall or using a larger modifier is usually more effective.
Useful flash modifiers include:
Softboxes
Umbrellas
Bounce cards
Grids
Gels
Snoots
Each one changes how the light spreads.
Using Flash Gels at Night
Colored gels can be extremely useful for nighttime photography.
A gel is a colored piece of material placed over the flash.
Some photographers use gels creatively to make the flash blue, red, purple, or another color.
Others use correction gels.
For example, if the environment is illuminated by warm tungsten lights but your flash is daylight-balanced, the subject may look much cooler than the background.
Adding a warm gel to the flash can help match the surrounding light.
Autofocus Problems at Night
Your camera may struggle to focus when there is not enough contrast.
There are several solutions.
Look for a brighter edge on your subject, use your camera’s low-light autofocus features, use an autofocus assist beam when available, or temporarily illuminate the subject.
Modern mirrorless cameras with good low-light autofocus can perform extremely well, but every camera has limits.
Red-Eye
Red-eye occurs when light from a flash reflects from the retina inside a person’s eye.
It is most common when the flash is positioned very close to the camera lens.
An external flash reduces the problem because the flash sits farther away from the optical axis.
Moving the flash off-camera usually eliminates it almost completely.
Common Night Flash Photography Mistakes
Using ISO 100 for Everything
Low ISO produces clean files but can make the background unnecessarily dark.
Do not be afraid to increase ISO.
Shooting at Maximum Flash Power
Full-power flash takes longer to recycle and drains batteries quickly.
Increasing ISO or opening the aperture often lets you use significantly less flash power.
Ignoring the Background
A good flash photograph should still have an interesting environment.
Always check what is happening behind your subject.
Standing Too Far Away
Small speedlights have limited power.
Moving closer can dramatically improve exposure.
Using Direct Flash Accidentally
Direct flash can look great when used intentionally.
But if you want soft portrait lighting, bouncing or moving the flash off-camera will usually produce better results.
Forgetting About White Balance
Different light sources can have very different colors.
Streetlights, LEDs, neon signs, and flash may all have different color temperatures.
Shoot RAW whenever possible so you have more flexibility when correcting white balance later.
Recommended Equipment
You do not need an expensive professional setup to start.
A basic nighttime flash kit can include:
A camera with manual exposure controls
A fast lens
An external speedlight
Rechargeable batteries
A wireless flash trigger
A small light stand
A compact softbox or umbrella
Optional color gels
The speedlight and fast lens will usually make the biggest difference.
Flash Battery Life
Flash photography uses a surprising amount of battery power.
If you are shooting an event, always carry spare batteries.
Rechargeable NiMH batteries are popular for speedlights because they provide good performance and can be reused many times.
Avoid firing dozens of full-power flashes rapidly.
Besides draining the batteries, repeated full-power firing can cause some flash units to overheat.
Advantages of Night Flash Photography
The biggest advantages are control and consistency.
Flash allows you to create usable light almost anywhere.
It can freeze motion, improve facial lighting, lower the required ISO, and create dramatic photographs that would be difficult to produce using available light alone.
It is also extremely flexible.
The same speedlight can produce direct fashion-style lighting, soft bounced lighting, dramatic side lighting, or colorful creative effects.
Disadvantages
Flash photography requires more practice than simply increasing ISO.
You need to think about two exposures at once: your ambient exposure and your flash exposure.
Equipment also becomes slightly more complicated.
Extra batteries, triggers, stands, modifiers, and flashes can quickly turn a small photography kit into a much larger setup.
Flash can also be distracting in certain environments.
Museums, performances, ceremonies, wildlife situations, and some venues may prohibit or discourage flash photography.
Is Night Flash Photography Worth Learning?
Absolutely.
Understanding flash gives photographers something that high ISO alone cannot provide: control over light.
Once you understand how shutter speed influences ambient light and how flash power influences your subject, nighttime photography becomes much easier.
Instead of hoping that existing lighting is good enough, you can create the lighting you need.
For beginners, the best approach is simple.
Start with one external flash.
Use TTL first.
Set your camera to manual mode and experiment with different shutter speeds while keeping the flash exposure roughly the same.
You will quickly notice how changing shutter speed transforms the background while the flash keeps your subject illuminated.
After that, experiment with bounce flash, manual power, and eventually off-camera lighting.
Final Review
Night flash photography has a learning curve, but it is one of the most valuable techniques a photographer can master.
A modern camera can capture impressive images in low light without flash, but adding flash gives you much greater creative control.
For casual events and rapidly changing situations, TTL flash is fast and convenient. For controlled portraits, manual off-camera flash provides better consistency and greater creative freedom.
The key is not simply making the scene brighter.
The goal is balancing artificial flash with the existing nighttime environment.
Once you learn that balance, you can create sharp portraits, colorful party photographs, dramatic street images, and professional-looking nighttime photos in situations that would otherwise be extremely difficult to photograph.
READ ALSO: Lume cube panel mini (review)

Related Posts

What is KML and KMZ file?

5 basic shots to make your film ideal