Tap the Healing tool (band-aid icon) from the toolbar at the bottom.
Choose “Clone” or “Heal” mode.
Zoom in on the red eye and tap on it.
Adjust the brush size to match the red eye area.
Move the sampled area if needed to blend naturally.
Tap Done when satisfied.
Method 2: Using Selective Edits
Open your photo in Lightroom Mobile.
Tap the Selective Editing tool (circle with a dotted outline).
Choose the Brush tool.
Brush over the red eye area carefully.
Reduce the Saturation to remove the red tint.
Adjust Exposure and Shadows slightly to match the natural eye color.
Tap Done when you’re happy with the correction.
If you need a dedicated Red Eye Removal tool, Lightroom Mobile currently does not have one (as of recent updates), but Adobe Photoshop Express (another free Adobe app) has an automatic red-eye removal feature that might be easier.
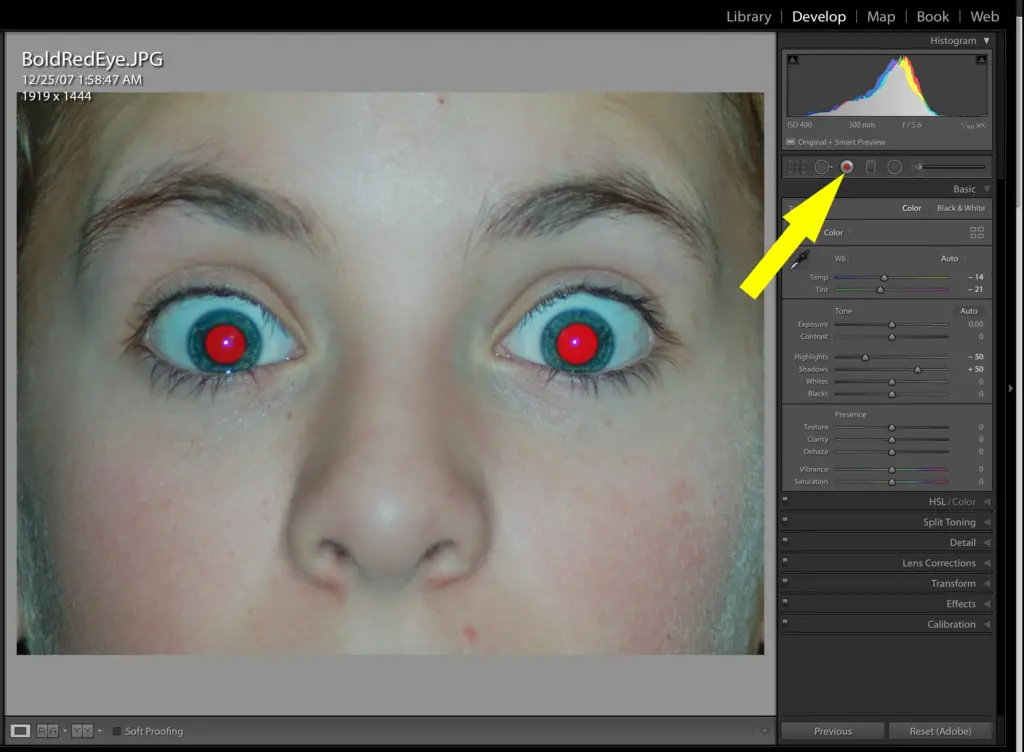
Image source: Reddit
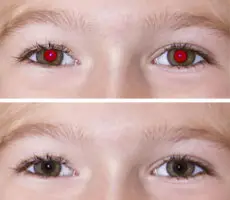
Why do red eyes appear in photos?
Red eyes in photos occur due to the reflection of light from the retina at the back of the eye. Here’s how it happens:
Flash Reflection – When a camera flash goes off in a dimly lit or dark environment, the light enters the eye through the pupil and reflects off the retina.
Retina Composition – The retina is rich in blood vessels, which give it a reddish color. When the reflected light exits the eye and reaches the camera lens, it appears red in the photo.
Pupil Dilation – In low light, pupils dilate (get larger) to allow more light in. This makes it easier for the flash to enter and reflect back, increasing the red-eye effect.
Angle of Light – Red-eye is more common when the camera flash is close to the lens, as the light enters and exits the eye at nearly the same angle.
Light Sensitivity and Eye Color – People with lighter-colored eyes (blue or green) are more prone to red-eye because they have less melanin, which helps absorb some of the light.
Image source: www.vidtheque.com
How to Prevent Red Eyes in Photos
Use Red-Eye Reduction Mode – Many cameras and phone cameras have this feature, which emits a pre-flash to make pupils contract before taking the photo.
Increase Ambient Lighting – Brighter environments cause pupils to constrict, reducing the effect.
Avoid Direct Flash – Use natural light, a softer flash, or bounce the flash off a surface to avoid direct reflection.
Adjust Camera Angle – Changing the angle between the camera and the subject’s eyes reduces the reflection back to the lens.
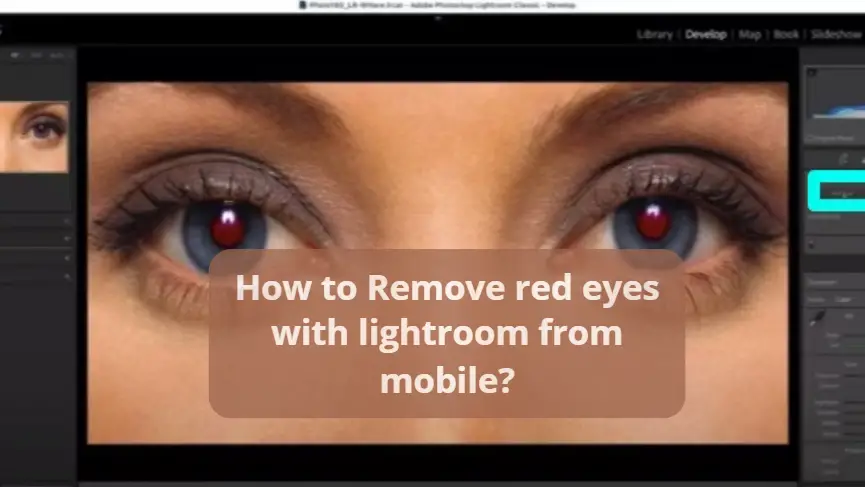
What are the alternatives to lightroom mobile to remove red eyes in photos?
App
Type
Red-Eye Removal Method
Free / Paid
Platforms
Adobe Photoshop Express
Automatic
“Red Eye” tool (one-tap fix)
Free
Android, iOS
Snapseed (by Google)
Manual
“Healing Tool” + “Selective” adjustments
Free
Android, iOS
Facetune
Automatic
“Fix Red-Eye” tool for detailed correction
Freemium (some paid features)
Android, iOS
YouCam Perfect
Automatic
AI-powered red-eye removal
Freemium
Android, iOS
Pixlr
Manual
“Heal Tool” for manual retouching
Free
Android, iOS, Web
RetouchMe
Professional
AI + manual editing by experts
Paid
Android, iOS
Fotor
Online
“Red Eye Remover” web tool
Free
Web, Android, iOS
For an easy and free solution, try Adobe Photoshop Express or Snapseed. If you want an automatic fix, YouCam Perfect is a good choice.
FAQs
Does Lightroom Mobile have a red-eye removal tool?
No, Lightroom Mobile does not have a dedicated red-eye removal tool like the desktop version. However, you can fix red eyes manually using the Healing Tool or Selective Edits.
How can I remove red eyes in Lightroom Mobile?
You can use the Healing Tool (Clone or Heal mode) to cover the red area or the Selective Editing Tool to reduce red saturation manually.
Is there an automatic way to fix red eyes in Lightroom Mobile?
No, you must manually edit using the Healing Tool or Selective Edits.
Can I use Lightroom Desktop for red-eye removal?
Yes! The desktop version of Lightroom has a Red Eye Correction Tool, which Lightroom Mobile lacks.