
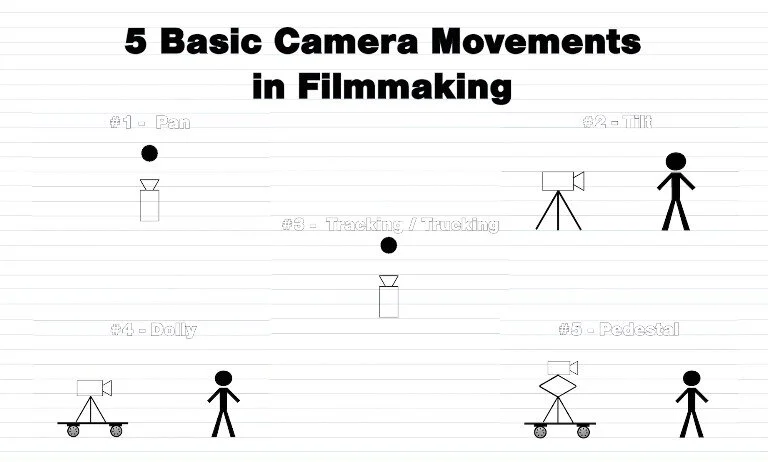
5 basic shots to make your film ideal
Table of Contents
As an Amazon Associate, I earn from qualifying purchases.
5 basic shots
If you’re creating YouTube videos, Shorts, horror stories, travel vlogs, or cinematic content, mastering basic shots is non-negotiable.
These shots are the foundation of:
- 🎬 Visual storytelling
- 📈 Audience retention
- 😱 Emotional impact
- 🖼️ Strong thumbnails
Let’s break them down clearly and practically:
1️⃣ Wide Shot (Long Shot)
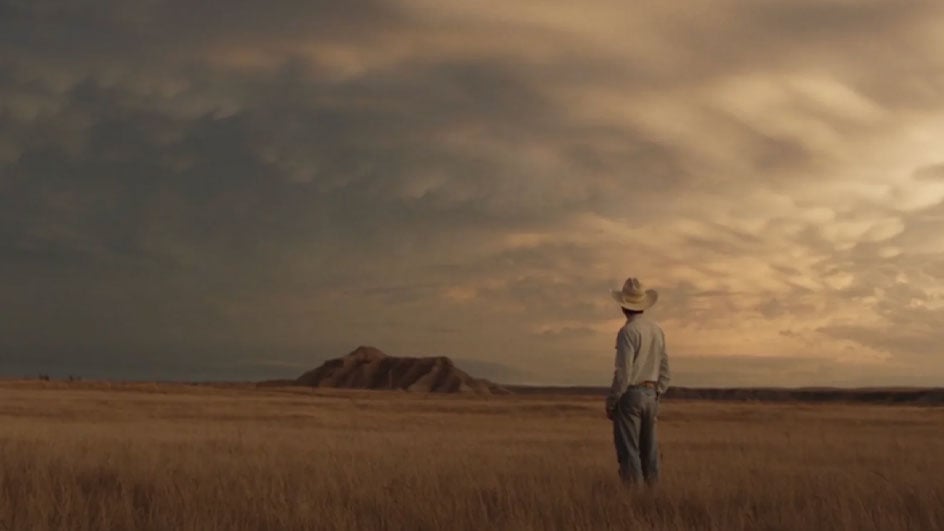


What It Is:
Shows the full subject and surrounding environment.
Why It’s Important:
- Establishes location
- Sets mood
- Shows body language
- Great for intros
Best For:
- Opening scenes
- Travel content
- Story setup
- Horror atmosphere shots (especially for your storytelling style)
Pros
- Great for transitions
- Cinematic feel
- Gives context
Cons
- Less emotional detail
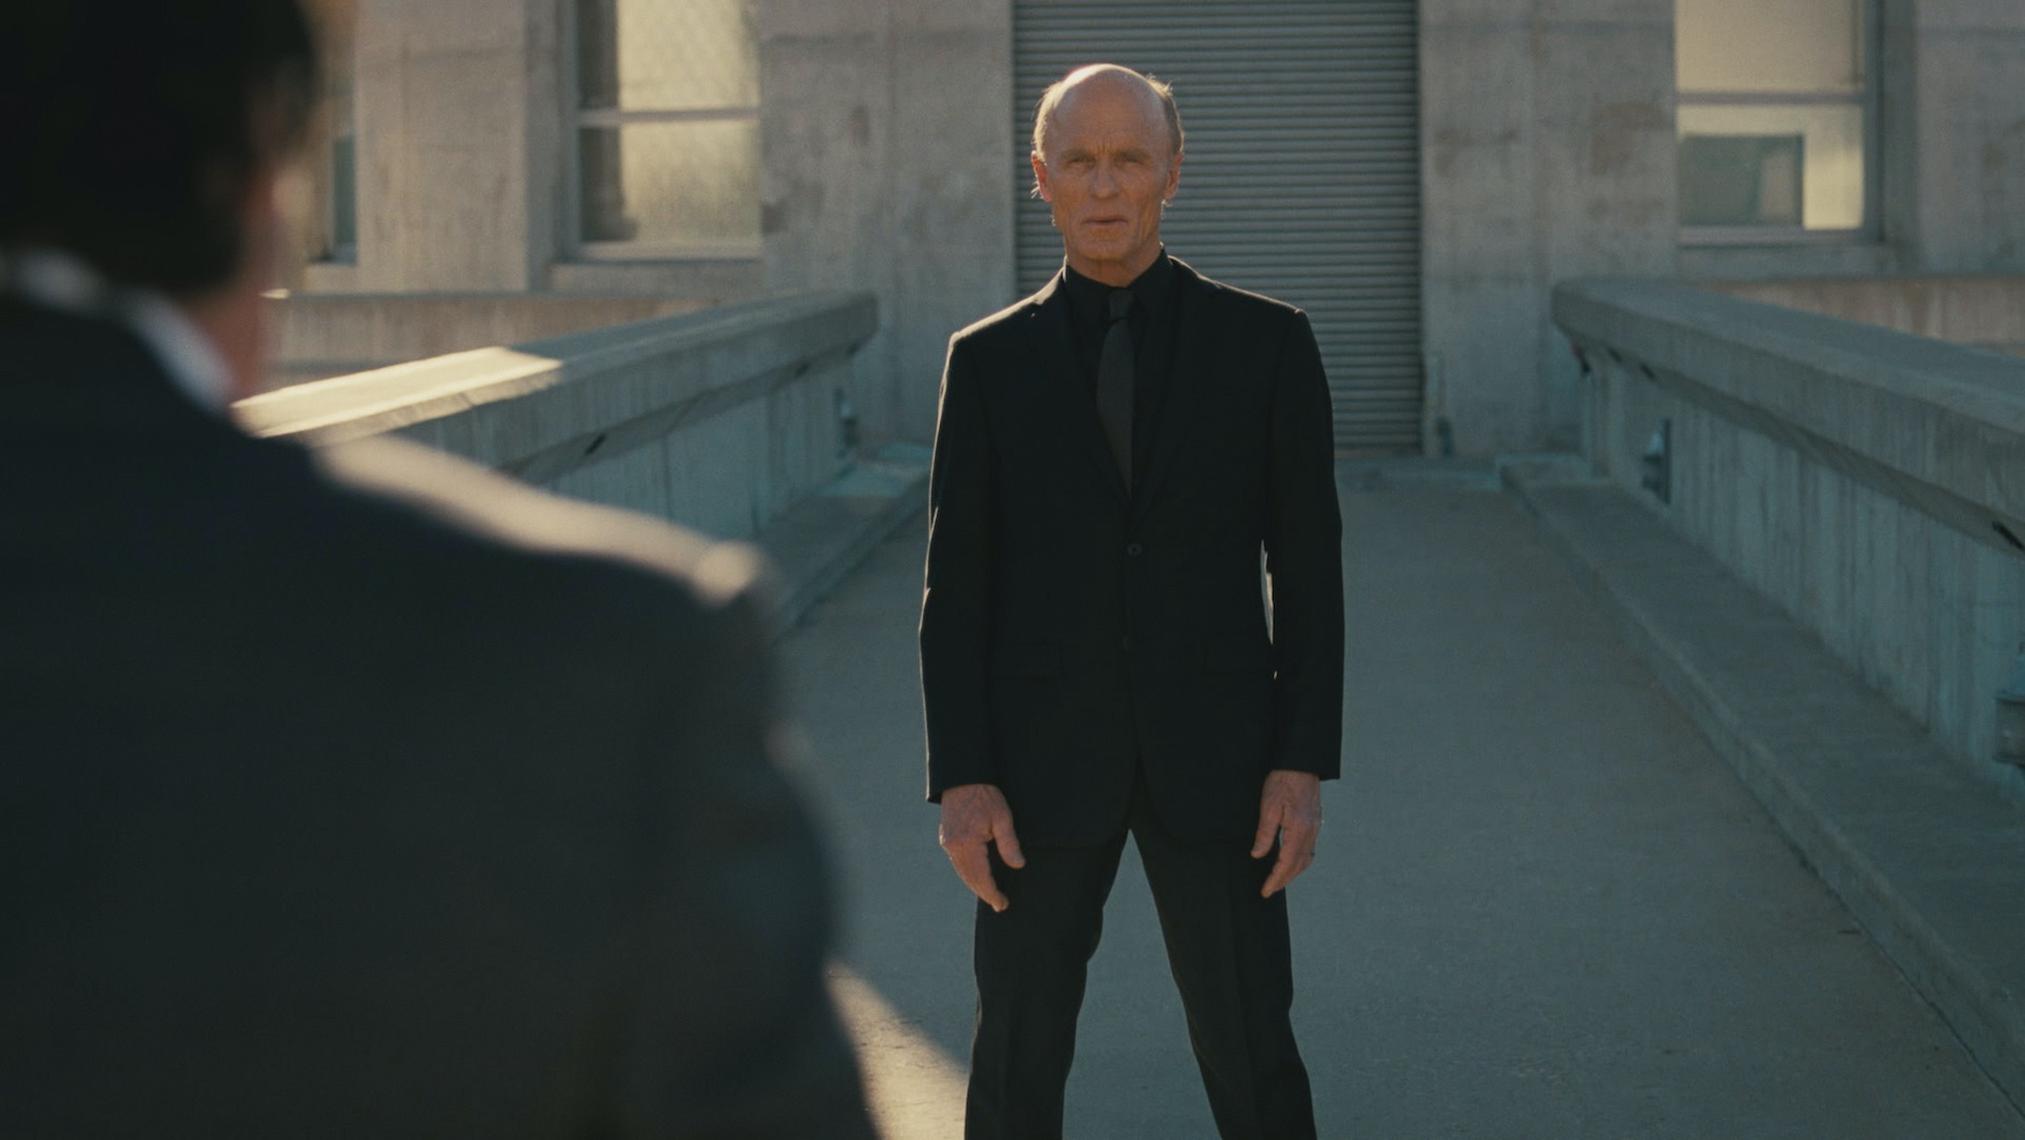
2️⃣ Medium Shot


What It Is:
Frames subject from waist up.
Why It’s Popular:
This is the most used YouTube framing.
Best For:
- Talking head videos
- Interviews
- Tutorials
- Storytelling channels
Pros
- Comfortable for viewers
- Natural
- Balanced
Cons
- Less dramatic
3️⃣ Close-Up Shot

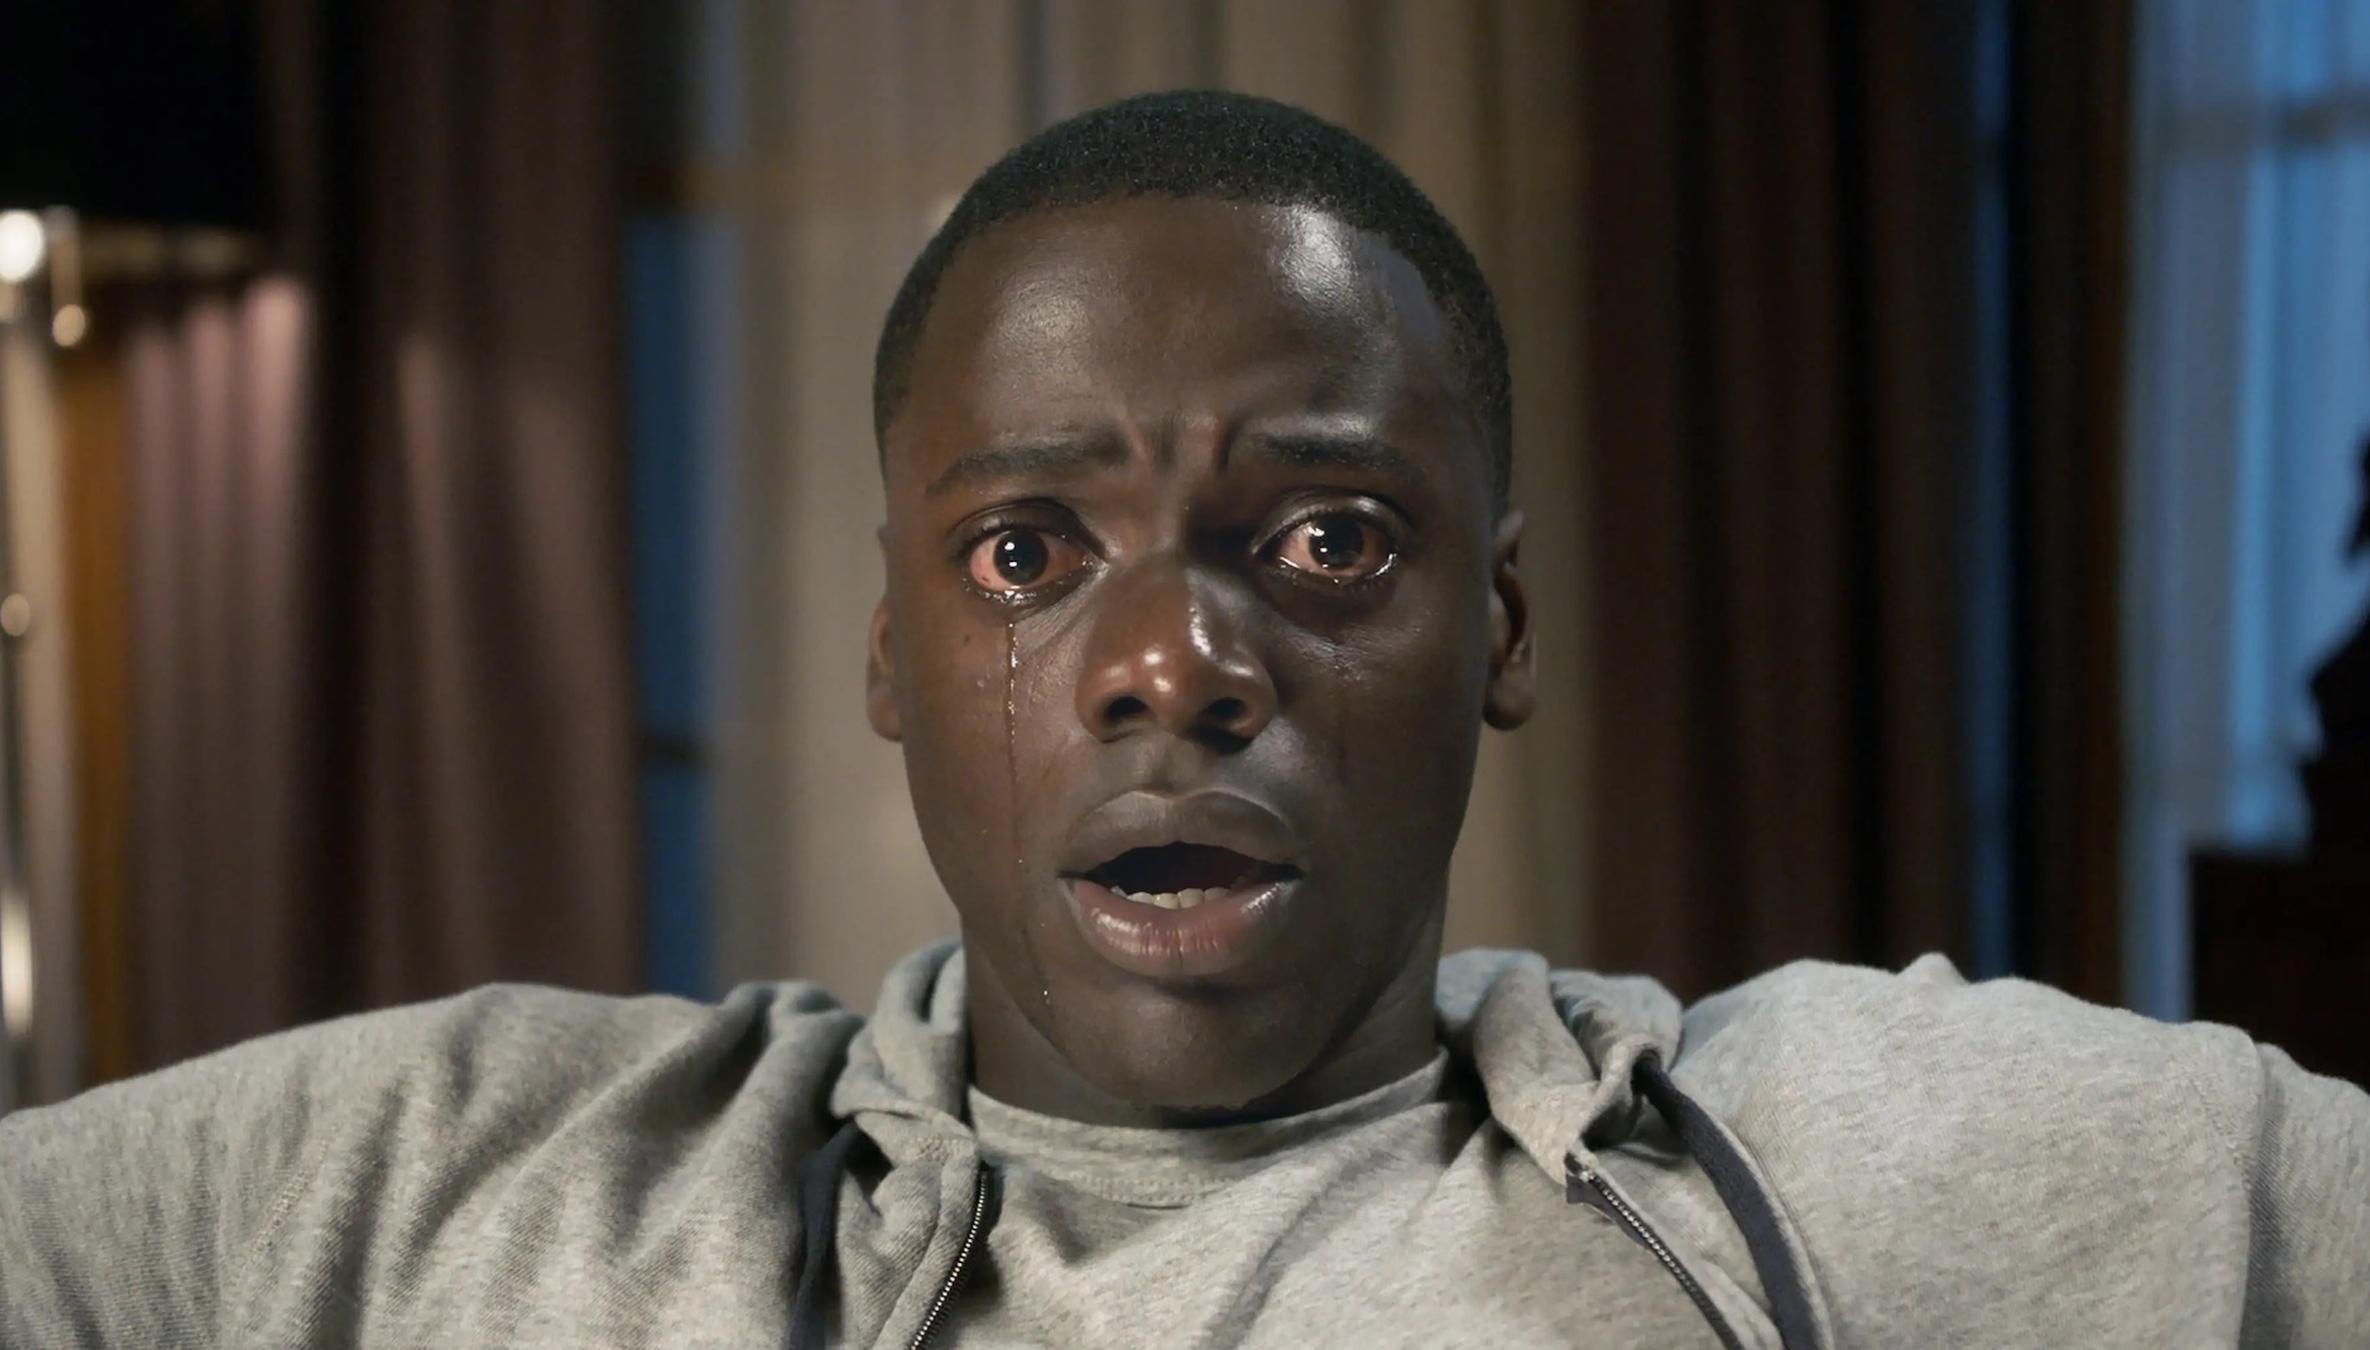

What It Is:
Focuses tightly on face or object.
Why It Works:
Creates emotional connection.
Best For:
- Horror storytelling (very powerful for tension)
- Emotional scenes
- Product details
- Reaction shots
Pros
- Creates tension
- Great for thumbnails
- High emotional impact
Cons
- Can feel intense if overused
4️⃣ Over-the-Shoulder Shot


What It Is:
Camera placed behind one subject, focusing on another.
Why It’s Powerful:
Adds immersion and realism.
Best For:
- Dialogue scenes
- POV storytelling
- Suspense moments
Pros
- Great for narrative scenes
- Engaging
- Cinematic
Cons
- Requires planning
5️⃣ Point of View (POV) Shot


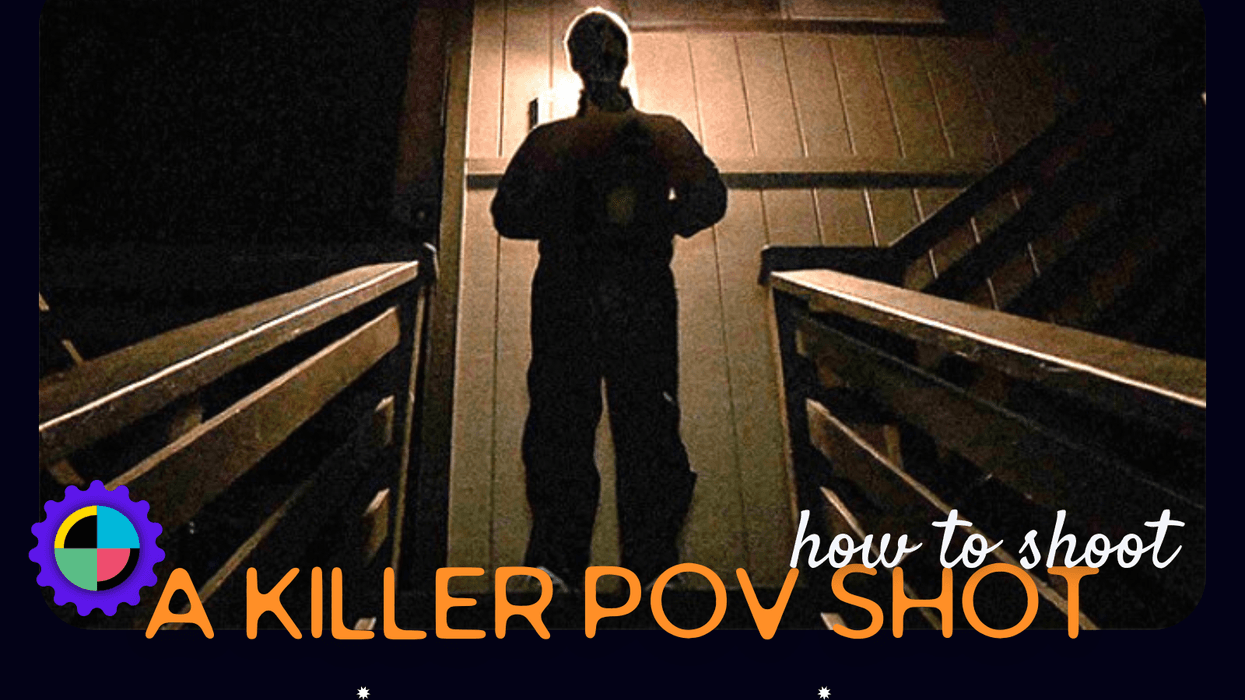
What It Is:
Shows what the character sees.
Why It’s Viral:
Very immersive — works great for Shorts.
Best For:
- Horror content
- Suspense builds
- Interactive storytelling
- TikTok/Shorts
Pros
- High retention potential
- Modern feel
- Extremely immersive
Cons
- Can feel gimmicky if poorly done
Bonus: Shot Size Hierarchy (From Wide to Extreme Close-Up)
- Extreme Wide Shot (EWS)
- Wide Shot (WS)
- Medium Shot (MS)
- Medium Close-Up (MCU)
- Close-Up (CU)
- Extreme Close-Up (ECU)
Knowing this scale helps you structure scenes dynamically.
🎬 How to Combine Shots for Cinematic Flow
Here’s a simple scene structure:
Example (Horror Scene):
- Wide shot → Empty house at night
- Medium shot → Character walking inside
- Close-up → Nervous face
- OTS → Looking at dark hallway
- POV → Something moves
This progression builds tension naturally.
📷 Common Beginner Mistakes
❌ Keeping camera at eye level all the time
❌ No shot variety
❌ Overusing zoom
❌ Ignoring lighting
❌ Cutting from wide directly to extreme close-up without transition
🎯 Final Advice for Creators
If you’re building storytelling content (especially horror or emotional stories):
- Use Wide shots for atmosphere
- Use Close-ups for emotion
- Use POV for tension
- Alternate between Wide → Medium → Close-up for professional pacing
Even with a phone camera, mastering shot variety makes your videos look 10x more professional.
FAQs
What are the most important basic shots to learn first?
Start with:
Wide Shot
Medium Shot
Close-Up
If you master just these three and understand when to switch between them, your videos will already look professional.
What is the difference between a wide shot and an establishing shot?
An establishing shot is usually a type of wide shot.
Wide shot = shows full subject + environment
Establishing shot = wide shot used specifically to show location and set context
All establishing shots are wide shots — but not all wide shots are establishing shots.
Why do my videos look flat or boring?
Most likely because:
You’re using only one shot type
Camera is always at eye level
No depth (foreground/background separation)
Lighting is too even
Switching between wide, medium, and close-up instantly adds visual energy.
What shot is best for YouTube talking videos?
The medium shot (chest or waist up).
It feels natural and keeps attention on your face without feeling too intense.
If you’re doing storytelling (like horror narration), mix:
Medium for narration
Close-ups for dramatic lines
What is the rule of thirds?
Imagine dividing your frame into 9 equal squares (3×3 grid).
Place:
Eyes along the top horizontal line
Important objects at intersections
It creates balanced and cinematic framing.
Should beginners use zoom?
Avoid digital zoom.
Instead:
Move the camera physically
Use different shot sizes
Cut between wide and close-up in editing
Zoom often looks amateur unless used very intentionally.
READ ALSO: Do Old cameras worth money?
Related Posts
How many pictures in a roll of film?

Sony a7iii lenses: detailed guide
